How to Hang a Gallery Wall Above Your Bed Without Damage

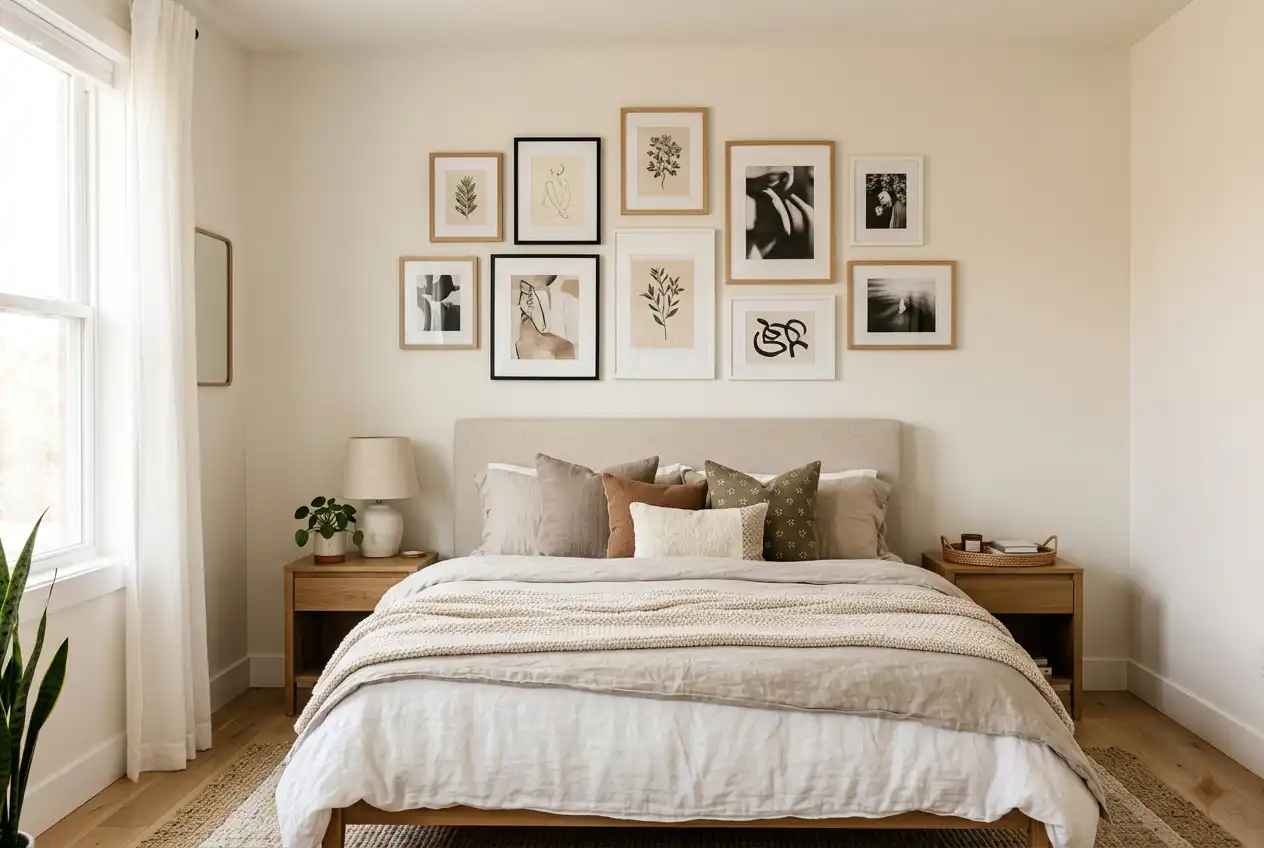
A gallery wall above bed setup has become one of the most searched bedroom styling ideas this year.
Homeowners and renters both want the same thing: a wall filled with art that feels curated and personal.
The biggest hesitation usually comes from fear of drilling holes into a wall that took months to paint or patch.
That fear is valid, especially for renters who risk losing part of their security deposit over careless nail holes.
The good news is that a bedroom gallery wall does not require permanent damage to look polished and complete.
This guide walks through wall-safe hanging methods, layout planning tricks, and spacing rules that protect your investment.
By the end, you will know exactly how to build wall art above bed displays without touching a single drill.
Every method below works for drywall, plaster, brick, and even rental-friendly concrete surfaces around the country.
Why a Gallery Wall Above Your Bed Changes the Whole Room’s Mood
The wall space above a headboard is often the most neglected area in an entire bedroom.
Most people focus on bedding, lighting, or furniture and completely forget the vertical space behind them.
That blank stretch of wall sits at eye level for anyone standing in the doorway, making it highly visible.
Filling it intentionally shifts the entire room from feeling unfinished to feeling professionally styled overnight.
This is exactly why so many people search for gallery wall above bed inspiration before touching anything else in the room.
A well-planned arrangement draws the eye upward and makes ceilings feel taller than they actually are.
It also gives a room personality, turning a generic sleeping space into something that reflects the person living there.
Small bedrooms benefit the most, since art above the bed adds depth without taking up any floor space at all.
How Your Wall Material Determines Which Hanging Method Will Work
Not every wall behaves the same way once you introduce hooks, adhesives, or hanging hardware.
Drywall is soft and forgiving, which makes it compatible with almost every damage-free hanging product on the market.
Plaster walls are older, harder, and far more likely to crack if you use the wrong type of hook.
Brick and concrete require entirely different adhesive strength, since standard strips often fail to bond properly on rough surfaces.
Before choosing a hanging method, press firmly on the wall to feel for texture, hollow spots, or uneven patches.
Knowing your wall type in advance prevents wasted adhesive strips and avoids frustrating mid-project surprises.
This single step saves time later when you start testing weight limits for your frames.
The sections below break down which method fits which wall, starting with the safest option for most bedrooms today.
Choose Removable Adhesive Strips for a Damage-Free Gallery Wall
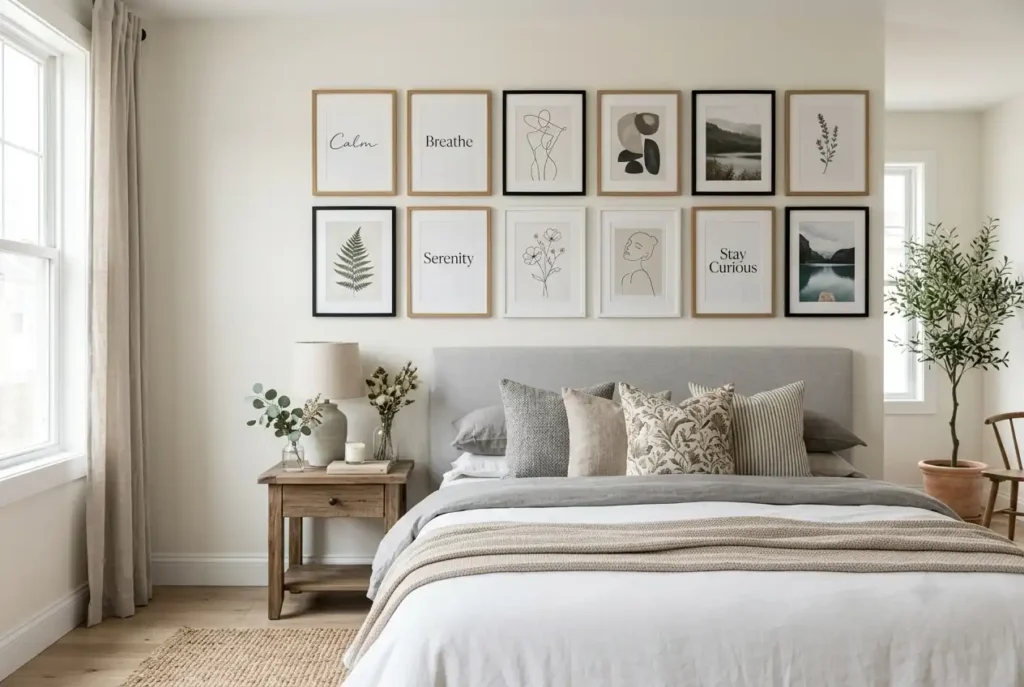
Heavy-duty adhesive strips have become the most popular solution for anyone building a gallery wall above bed setup.
These strips hold frames firmly in place while leaving zero marks once you decide to remove them later.
Most brands now rate their strips by weight, so lighter frames use smaller strips and heavier frames use reinforced ones.
Renters especially benefit from this method, since landlords rarely allow permanent holes in painted walls.
To apply them correctly, clean the wall surface first and let it dry completely before pressing any strip against it.
Press each strip firmly for several seconds, then wait at least one hour before hanging your frame.
This waiting period allows the adhesive to reach full strength and prevents frames from slipping during the first few days.
Adhesive strips work best on smooth drywall and painted surfaces rather than textured or brick walls.
Use a Paper Template to Plan Your Layout First
Skipping the planning stage is the fastest way to end up with a crooked or unbalanced arrangement.
Trace the outline of every frame onto kraft paper, then cut each shape out before touching the wall.
Tape these paper templates directly onto the wall above your headboard to preview the entire layout in advance.
Step back and view the arrangement from across the room, since spacing often looks different up close.
Adjust the paper shapes as many times as needed until the balance feels right to your eye.
This step matters most for a gallery wall above bed project, where symmetry around the headboard affects the whole room.
Once the layout feels correct, mark each corner lightly with a pencil dot before removing the paper.
Those small marks become your guide for exact adhesive strip or hook placement later in the process.
Try Picture Rail or Track Systems for Zero Wall Holes
Picture rail systems use a single anchor point installed near the ceiling rather than multiple wall punctures.
Thin metal cords or hooks hang down from the rail, allowing frames to float without touching the wall directly.
This method works exceptionally well for anyone who likes to rearrange their gallery wall above bed display often.
Since frames hang from cords, you can slide, raise, or lower them without creating new holes each time.
Many rental-friendly rail kits now attach with strong adhesive backing instead of screws, keeping the entire system damage-free.
Track systems also distribute weight evenly, which makes them safer for heavier frames or oversized mirrors.
Once installed, the rail becomes a permanent fixture that supports endless future layout changes above the bed.
This flexibility makes it worth the slightly higher upfront cost for people who redecorate often.
Balance Frame Sizes Around the Headboard for Visual Harmony
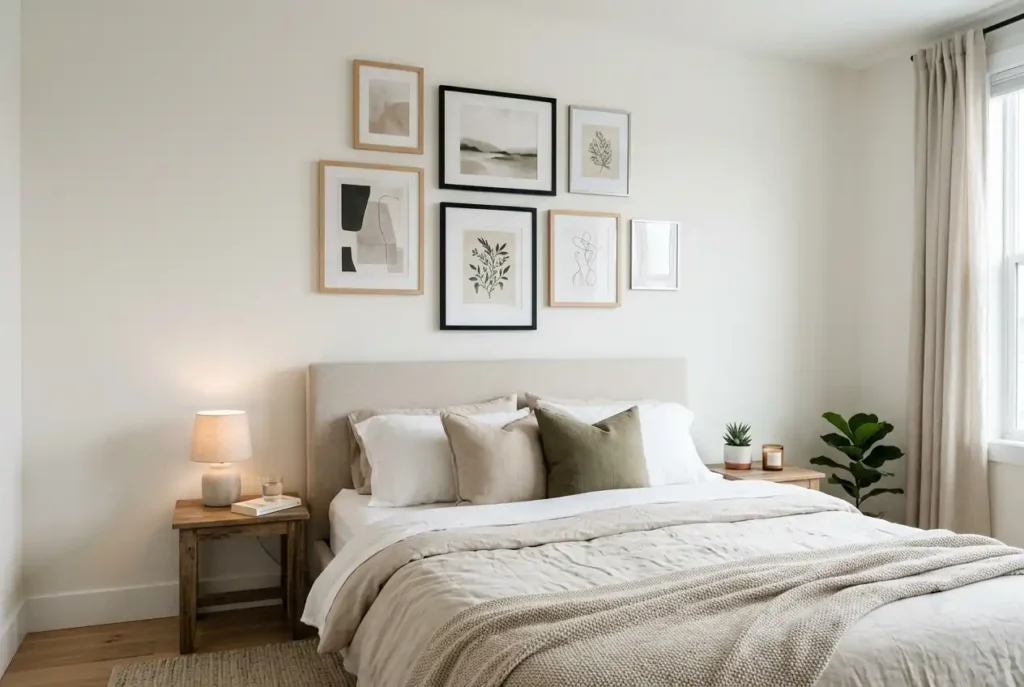
Frame size plays a bigger role in the final look than most people expect going into this project.
A symmetrical layout places matching or similar-sized frames evenly on both sides of the headboard’s center point.
An asymmetrical layout mixes different sizes together, creating a more relaxed and collected feeling above the bed.
Both approaches work well, but mixing them without a plan usually results in a cluttered, unbalanced display.
Start with your largest frame first and treat it as the anchor piece for the entire arrangement.
Build outward from that anchor, alternating medium and small frames to keep the composition visually interesting.
This structured approach strengthens the overall gallery wall above bed effect and keeps the eye moving naturally.
Photograph your layout from across the room periodically to check the balance before finalizing any placement.
Mix Textures and Materials to Add Depth Above the Bed
Relying only on framed prints often results in a flat display that lacks visual interest up close.
Adding a small mirror into the mix introduces reflected light and breaks up the repetition of flat frames.
Woven wall hangings or textured fiber art bring warmth that framed prints alone cannot easily achieve.
Combining materials keeps a gallery wall above bed feeling curated rather than assembled from a single matching set.
Aim for at least one textured piece for every four or five framed items in your arrangement.
This ratio prevents any single texture from overwhelming the overall composition above the headboard.
Metallic frames paired with matte wood frames also add subtle contrast without clashing visually.
The goal is variety that still feels intentional, not a random collection thrown together without thought.
Leave Breathing Room Between the Headboard and the Lowest Frame
Spacing above the headboard directly affects how finished or cramped the entire display appears to guests.
Most designers recommend leaving six to twelve inches between the top of the headboard and the lowest frame.
Crowding this gap makes the arrangement feel squeezed and can visually shrink the entire bedroom space.
Too much space, on the other hand, makes the display feel disconnected from the bed itself.
Measure your headboard height first, then use painter’s tape to mark the minimum spacing line before hanging anything.
This guideline applies whether your gallery wall above bed setup uses three frames or twelve frames total.
Consistent spacing between the headboard and the lowest row creates a polished, magazine-style finish every time.
Double-check this measurement after installing your paper template, since spacing errors are easiest to fix early.
Use Weight-Rated Hooks Instead of Guessing With Nails
Guessing hardware size based on appearance alone often leads to frames slipping or falling within weeks.
Weight-rated hooks list the exact number of pounds they can safely support printed directly on the packaging.
Match each hook’s rating to your frame’s actual weight, including the glass, matting, and backing material combined.
Oversized nails driven into drywall without anchors create larger holes than necessary and weaken the surface over time.
Command-style hooks now offer weight-rated options up to sixteen pounds, covering most standard bedroom frame sizes.
For anything heavier, use a wall anchor rated for the specific wall material you identified earlier in this guide.
This approach protects both your frames and your wall, avoiding the damage caused by mismatched hardware choices.
Always test hook placement with a level frame before committing to the final hanging position.
The Layout Mistakes That Quietly Damage Walls Over Time
Small errors during installation often cause damage that only becomes visible months after the project finishes.
Repositioning frames too often is one of the most common mistakes people make without realizing the consequences.
Each removal and reapplication weakens adhesive strips and can strip paint if done carelessly or too quickly.
Using the wrong anchor type for a given wall material also causes slow, hidden structural damage over time.
Overloading a single hook with a frame that exceeds its weight rating stresses the wall gradually until it fails.
Ignoring humidity levels in the room can weaken adhesive bonds faster than most people expect, especially in summer.
Ideas that seem harmless in the moment often compound into real wall damage after several months of use.
Planning your layout thoroughly before installation remains the single best way to avoid these long-term problems entirely.
Tools That Make This Project Foolproof for Renters and Homeowners Alike
A small laser level removes the guesswork from keeping multiple frames aligned across a wide headboard wall.
Adhesive hook kits rated specifically for bedroom use simplify shopping and remove confusion about weight limits.
Spacing templates, sold as reusable plastic guides, help maintain consistent gaps between frames without repeated measuring.
A basic tape measure and pencil remain essential for marking headboard height and frame placement accurately.
Painter’s tape works well for testing layouts temporarily before committing to any adhesive or hook placement.
A small level, either digital or bubble-style, prevents crooked frames that become obvious once natural light hits them.
Investing in these simple tools upfront saves time and prevents costly mistakes during the installation process.
Most of these items cost very little and can be reused for future projects throughout the home.
Wrapping It Up
Building a gallery wall above bed display does not require permanent damage or professional installation experience.
Removable adhesive strips, picture rail systems, and weight-rated hooks all offer damage-free paths to the same finished look.
Planning your layout with paper templates prevents wasted materials and avoids unnecessary holes during the trial-and-error phase.
Balancing frame sizes, mixing textures, and maintaining proper spacing all contribute to a genuinely polished final result.
Avoiding common mistakes like overloading hooks or repositioning too often protects both your frames and your wall long-term.
With the right tools and a clear plan, anyone can achieve a bedroom gallery wall that looks completely custom.
This approach works equally well for renters protecting a deposit and homeowners planning a long-term design.
The result is a bedroom that finally feels finished, personal, and worth showing off to every guest who visits.